Replacing a roof is a significant investment for any homeowner. However, it is a necessary one to ensure the safety and integrity of your home. In this step-by-step guide, we will explore the roof replacement process, from understanding the need for replacement to post-replacement considerations. Whether you are planning to replace your roof soon or simply want to learn more about the process, this guide will provide you with valuable insights and knowledge.
Understanding the Need for Roof Replacement
Your roof serves as a shield against the elements, protecting your home and everything inside it. Over time, wear and tear, as well as exposure to harsh weather conditions, can take a toll on your roof. It is crucial to recognize the signs that indicate the need for a roof replacement.
When it comes to the integrity of your roof, early detection of issues can save you from costly repairs down the line. Regular inspections can help identify potential problems before they escalate. Keep an eye out for signs of aging, such as curling or buckling shingles, as well as moss or algae growth, which can indicate moisture retention and potential roof decay.
Signs Your Roof Needs Replacement
There are several telltale signs that indicate it is time for a roof replacement. One of the most evident signs is water leakage, which often manifests as stains or damp spots on your ceiling or walls. Other signs include missing or damaged shingles, excessive granule loss, sagging roof deck, and frequent roof repairs. If your roof is more than 20 years old, it might also be reaching the end of its lifespan and require replacement.
Furthermore, be mindful of the impact of severe weather conditions on your roof. Hail, strong winds, and heavy snow can accelerate the wear and tear on your roof, leading to premature aging. Inspecting your roof after a major weather event can help you assess any damage and address it promptly.
The Lifespan of Different Roofing Materials
The lifespan of your roof depends on the type of roofing material used. Here are some general guidelines:
- Asphalt shingles: 20-30 years
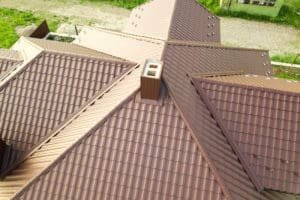
- Metal roofing: 50+ years
- Wood shingles: 30-40 years
- Concrete tiles: 50+ years
Note that these are average lifespans, and actual longevity can vary based on various factors such as climate, maintenance, and installation quality.
Preparing for a Roof Replacement
Before embarking on your roof replacement journey, there are a few essential steps to consider. A roof replacement is a major home improvement project that requires careful planning and consideration to ensure a successful outcome. In addition to choosing the right roofing contractor and budgeting for the project, there are other important factors to keep in mind.
One crucial aspect to consider is the timeline for your roof replacement. Depending on the size of your roof and the complexity of the project, the timeline can vary. It’s essential to discuss the project timeline with your chosen contractor to ensure that it aligns with your schedule and any potential weather constraints.
Choosing the Right Roofing Contractor
One of the most critical decisions you will make is choosing a reputable and experienced roofing contractor. Research local contractors, read reviews, and ask for recommendations. A skilled and reliable contractor will ensure that your roof replacement is done correctly and efficiently. Additionally, consider asking for proof of insurance and licensing to guarantee that the contractor meets all necessary requirements.
Budgeting for Your Roof Replacement
Replacing a roof is a significant financial investment. It is crucial to set a realistic budget and consider multiple factors. These factors include the size of your roof, desired roofing material, and any additional features or upgrades you may opt for. Obtain multiple quotes from different contractors to compare prices and services. Remember to factor in any potential unforeseen costs that may arise during the project to avoid budget overruns.
The Roof Replacement Process Explained

Now that you have prepared for your roof replacement, it’s time to dive into the actual process itself. Let’s explore the various stages involved.
Initial Inspection and Estimate
The first step is to have your roofing contractor conduct a thorough inspection of your existing roof. They will assess its condition, identify any underlying issues, and provide you with an estimate for the replacement cost. This estimate will include labor, materials, and any additional services required.
During the inspection, the roofing contractor will meticulously examine every aspect of your roof. They will check for signs of damage, such as cracked or missing shingles, leaks, or rot. They will also inspect the flashing, gutters, and chimney to ensure they are in good condition. This comprehensive evaluation allows the contractor to provide an accurate estimate and determine if any repairs or modifications are necessary before the replacement.
Choosing Your New Roofing Material
Once you have received the estimate, it’s time to select your new roofing material. Consider factors such as durability, aesthetics, and long-term maintenance requirements. Roofing materials come in various options, including asphalt shingles, metal, wood, and concrete tiles. Each material has its own unique characteristics and benefits.
For example, asphalt shingles are a popular choice due to their affordability, versatility, and ease of installation. Metal roofs, on the other hand, offer exceptional durability and energy efficiency. Wood shingles provide a natural and rustic look, while concrete tiles offer longevity and fire resistance. Your contractor will guide you through the selection process, taking into account your preferences, budget, and the architectural style of your home.
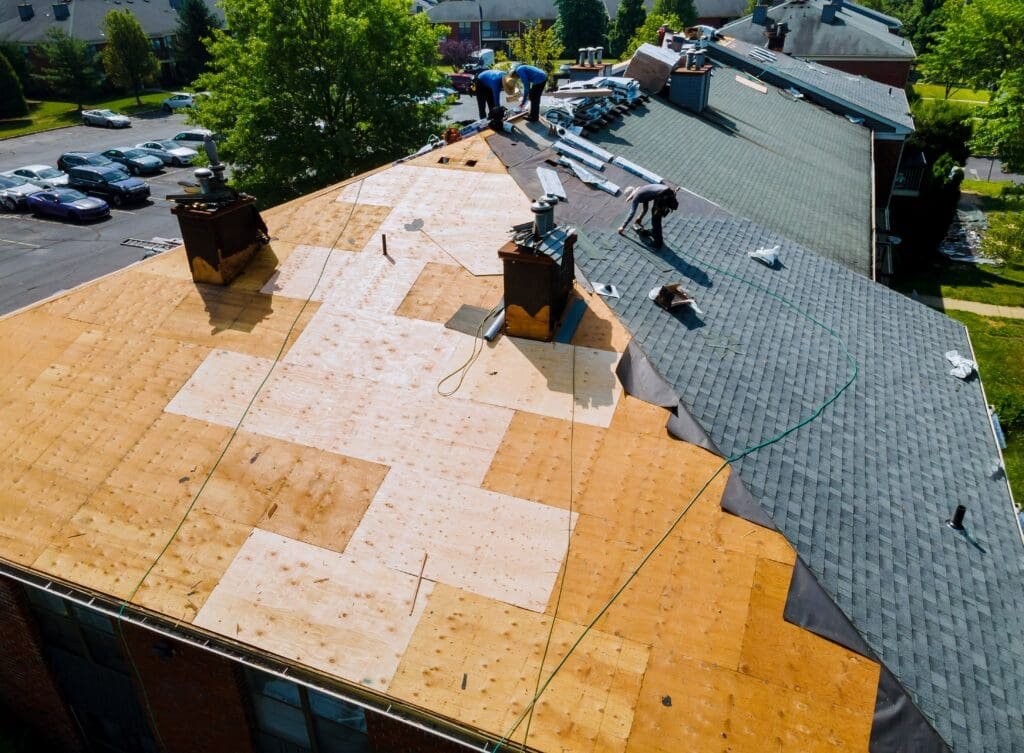
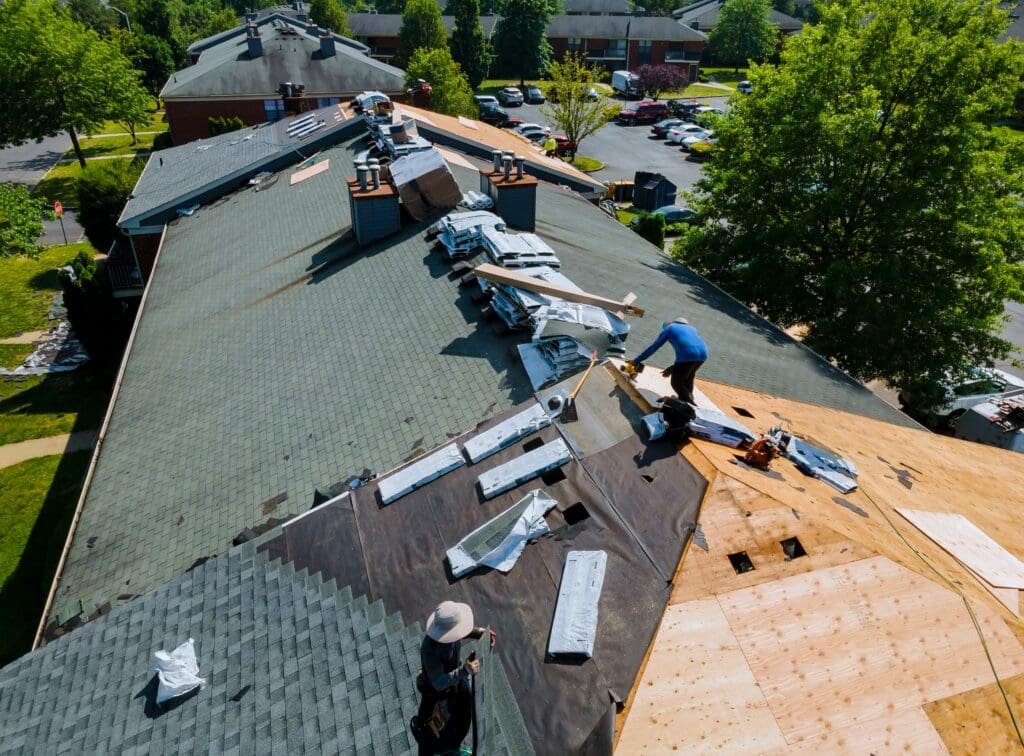
The Tear-Off Stage
Before installing the new roof, the existing roofing material must be completely removed. This process, known as the tear-off stage, involves stripping off the old shingles, underlayment, and any other debris. The tear-off stage ensures a clean, stable surface for the new roof installation.
During the tear-off stage, the roofing crew will carefully remove the old materials, taking precautions to minimize any potential damage to the underlying structure. They will use specialized tools and techniques to efficiently remove the old roof while maintaining a safe working environment. This stage requires precision and attention to detail to ensure a smooth transition to the next phase of the replacement process.
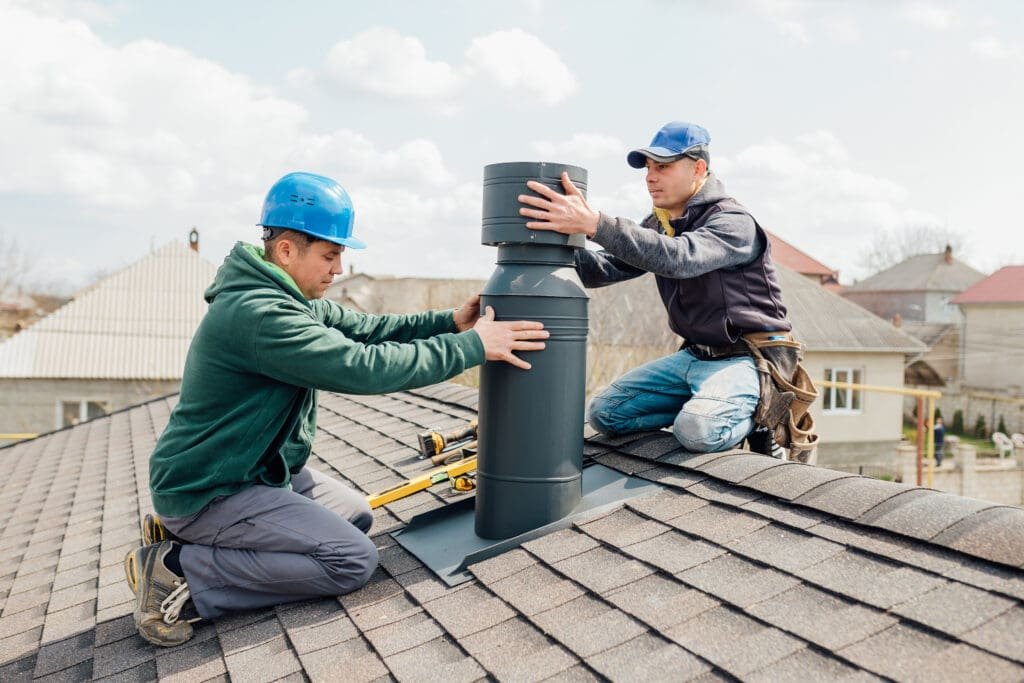
Installing the New Roof
With the old roof removed, it’s time for the exciting part—installing the new roof. Your contractor will start by applying an underlayment to protect against moisture. Then, they will install each shingle or roofing material, layer by layer, ensuring a secure and watertight seal. The installation process may vary depending on the chosen material, but your contractor will follow industry best practices to ensure a high-quality installation.
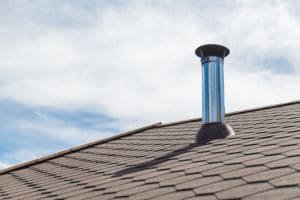
During the installation, the roofing crew will work diligently to ensure that each shingle or tile is properly aligned and fastened. They will pay close attention to the roof’s pitch and slope, ensuring optimal water drainage. The crew will also install flashing around chimneys, vents, and other protrusions to prevent water infiltration. The installation process requires skill and expertise to achieve a long-lasting and visually appealing result.
Post-Roof Replacement Considerations

Congratulations, your new roof is installed! However, there are a few essential considerations to keep in mind as you transition into the post-replacement phase.
Now that your roof replacement project is complete, it’s important to take a moment to appreciate the improved aesthetics and functionality that your new roof brings to your home. Not only does a new roof enhance the curb appeal of your property, but it also provides increased protection against the elements, ensuring a safer and more comfortable living environment for you and your family.
Cleaning Up After the Project
The roof replacement process can generate a significant amount of debris, including old shingles, nails, and other materials. Ensure that your contractor takes responsibility for cleaning up after the project. This includes removing any leftover materials and conducting a thorough inspection to ensure the area is free from debris and potential hazards.
Moreover, it’s crucial to pay attention to the surrounding landscape and exterior of your home during the cleanup process. Inspect your yard and pathways for any stray nails or debris that may have scattered during the roof replacement. By ensuring a thorough cleanup, you can prevent any potential safety hazards and maintain the overall cleanliness of your property.
Maintaining Your New Roof
Regular maintenance is key to extending the lifespan of your new roof. Schedule annual inspections with a professional to identify any potential issues early on. Clear any debris, such as leaves and branches, from your roof and gutters regularly. Additionally, be proactive in repairing any damage or signs of wear to prevent bigger issues down the line.
Furthermore, consider investing in routine maintenance tasks such as roof cleaning and moss removal to preserve the integrity and appearance of your new roof. By staying proactive and attentive to the maintenance needs of your roof, you can ensure its longevity and performance for years to come.
Frequently Asked Questions about Roof Replacement
How Long Does a Roof Replacement Take?
The duration of a roof replacement project depends on various factors, including the size and complexity of your roof, weather conditions, and the contractor’s efficiency. On average, a roof replacement can take anywhere from a few days to a couple of weeks.
It’s important to note that the timeline for a roof replacement may also be influenced by the materials being used. For example, asphalt shingle roofs are typically quicker to install compared to metal or tile roofs due to their ease of application. Additionally, if your roof requires extensive repairs or structural work, this can prolong the replacement process as well. Be sure to discuss the estimated timeline with your contractor before the project begins.
Can You Live in Your House During a Roof Replacement?
In most cases, it is possible to live in your house during a roof replacement. However, keep in mind that the process can be noisy and disruptive. It is advisable to discuss your living arrangements with your contractor beforehand and take any necessary precautions to minimize inconvenience.
During the roof replacement process, there will be a significant amount of debris and materials being moved around on your property. It’s essential to ensure the safety of your family and pets by restricting access to the construction area. Additionally, if you have any valuable items in your attic or upper floors, consider covering them with protective sheets to prevent dust or debris from settling on them.
By following this step-by-step guide, you now have a comprehensive understanding of the roof replacement process. From recognizing the signs that indicate the need for replacement to post-replacement considerations, you are well-equipped to navigate this significant home improvement project.